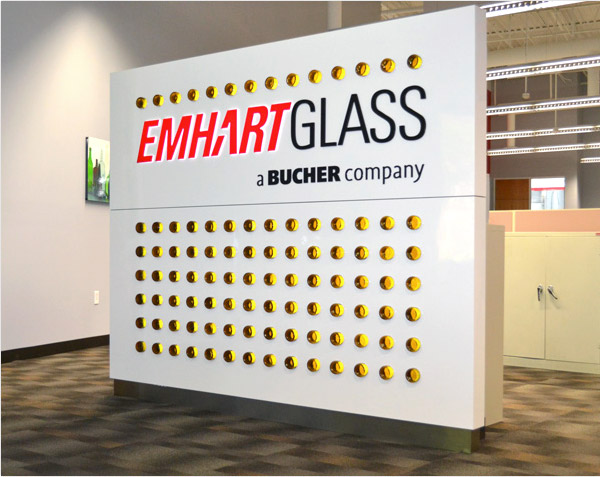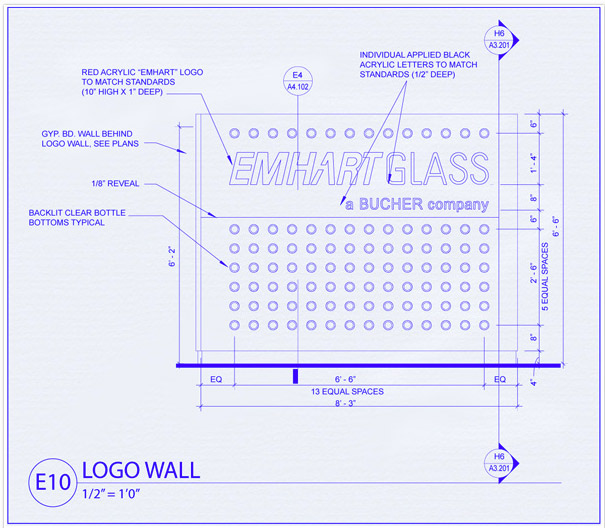
One of our partners was asked to create a wall logo for a local company that supplies inspection equipment to the glass container industry. They recently moved into a new facility and their architect came up with this design for the main lobby logo wall, with 98 beer bottles included.
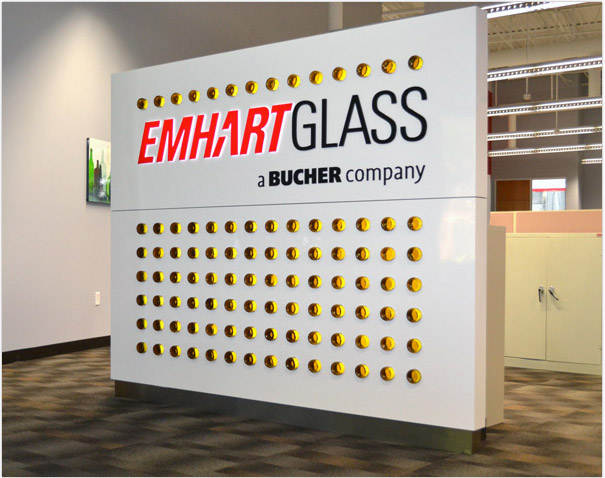
After going back and forth a bit on the design, this is the final lobby sign. And yes, those are actual beer bottles. Actually they are the cut off bottoms of real beer bottles. Best of all, part of the logo and all the bottles light up. YEAH!
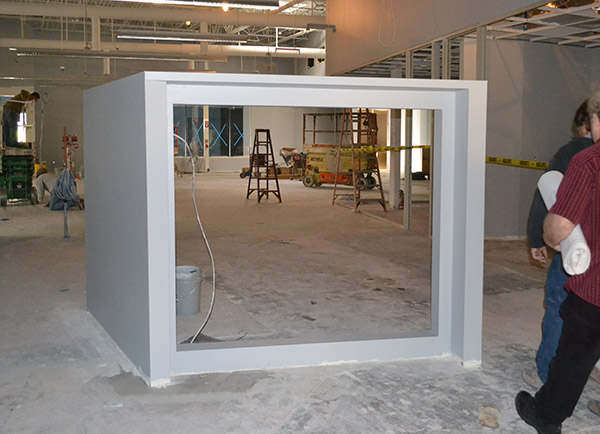
During the build out of the new space, the contractors pre-built the wall’s frame and finished it with drywall. The back was left open for servicing the light source and was later closed up with 2 lockable doors.
We received the artwork files in Adobe Illustrator and we transfered them to our CAD software, where we set up all the different files for the parts that make up the sign. The top and bottom sections were created individually to create a small reveal between them. We measured the bottles, which had slight variations in size, we cnc cut all the holes and also cut the area out of the top piece to allow the “Emhart” letters to be illuminated.
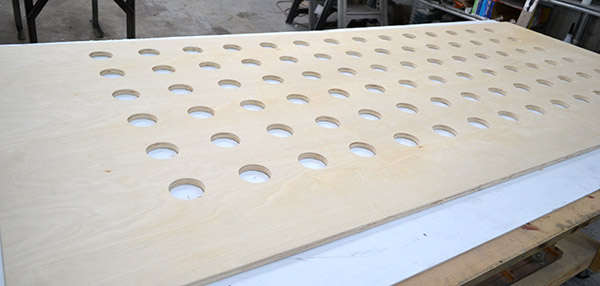
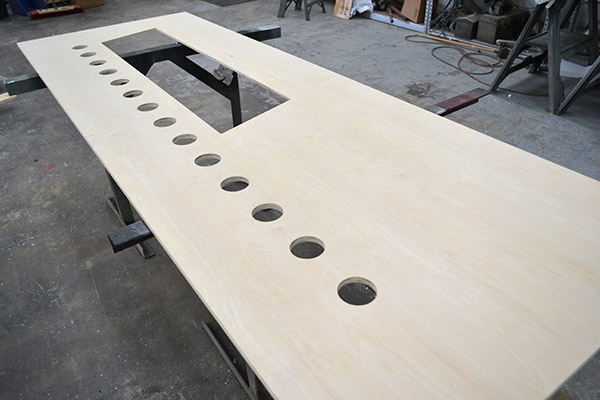
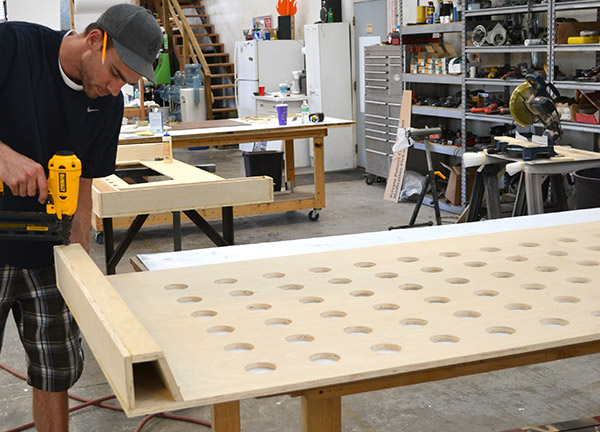
Both sections were framed out to fit over the existing wall, which had a extending wall set at a slight angle.
A translucent white acrylic panel was inlayed into the surface of the top section to allow light to travel through and for a surface the mount the push thur lettering.
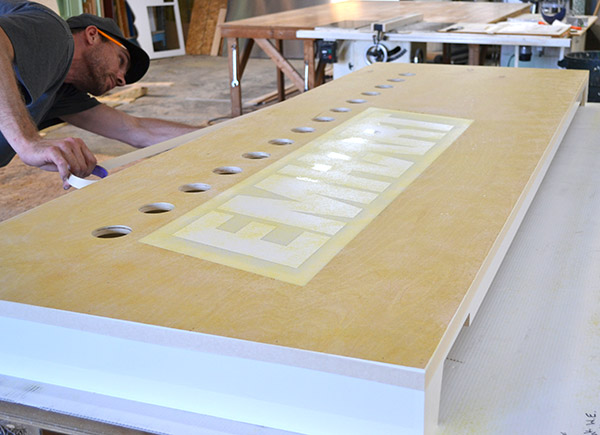
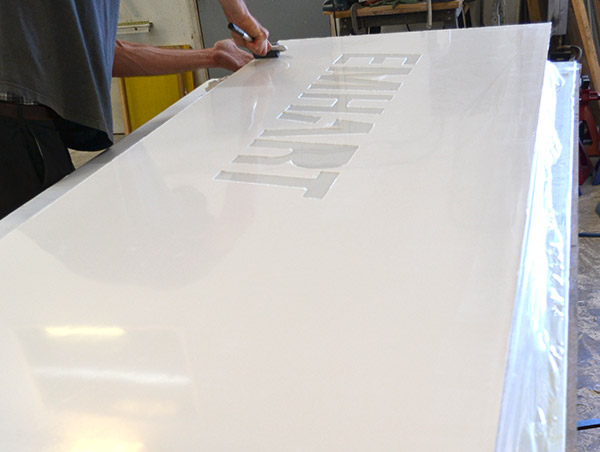
Both top and bottom sections were covered with solid core white formica. This type of laminate has a colored core so the trimmed edge does not show a dark line like standard laminates do. The top section had the logo pierce cut prior to lamination.
All the holes for the beer bottles were cut by hand through the top laminate using a trim router.
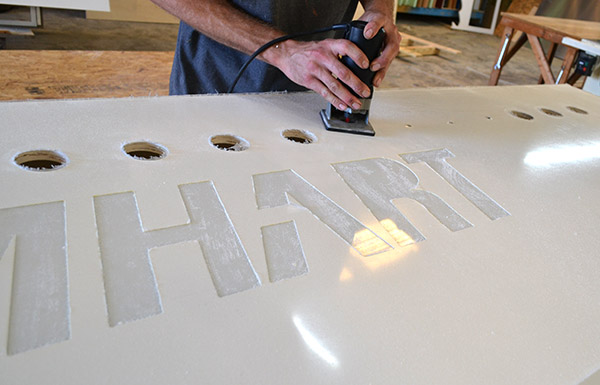
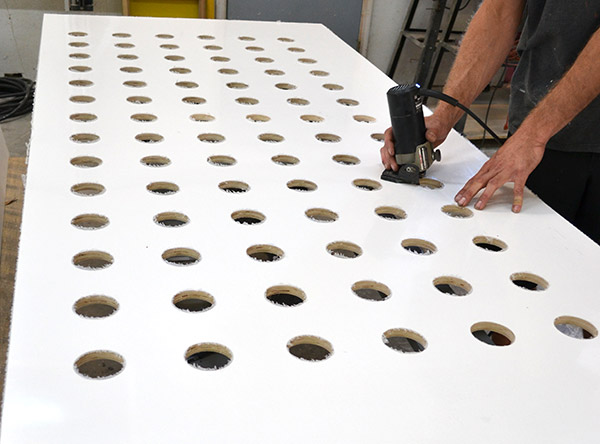
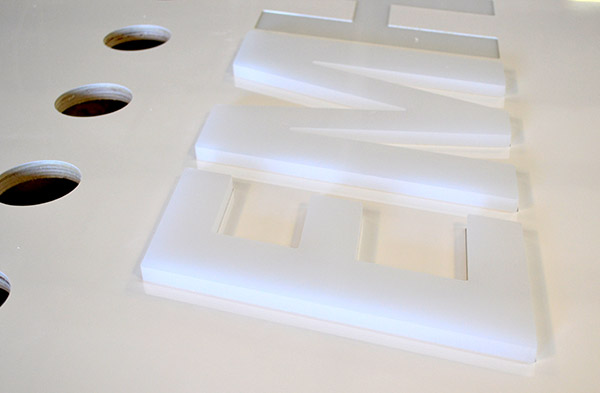
The inlayed letters were laser cut using 1/2″ translucent white acrylic using a special inlay function to ensure a perfect fit inside the laminate openings.
The cut bottle bottoms were inserted into the sign’s top and bottom sections.
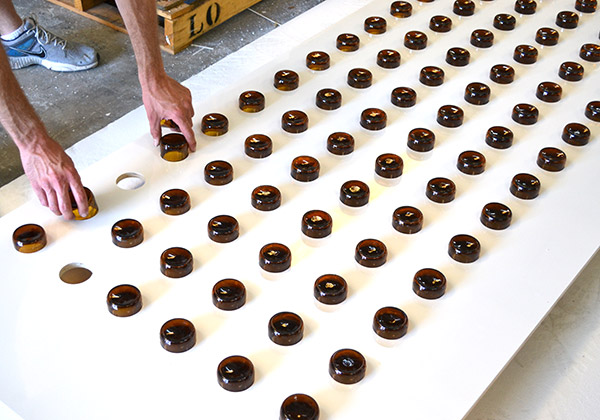
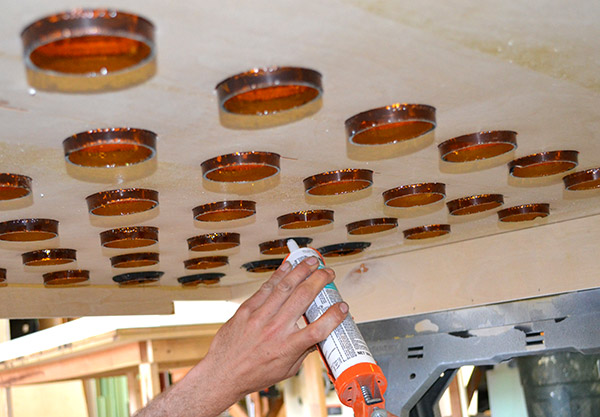
An opaque black adhesive was used to prevent light leaks and secure the bottle bottoms from the back side of the sign.
A view of the bottle bottoms adhered from the back of the unit.
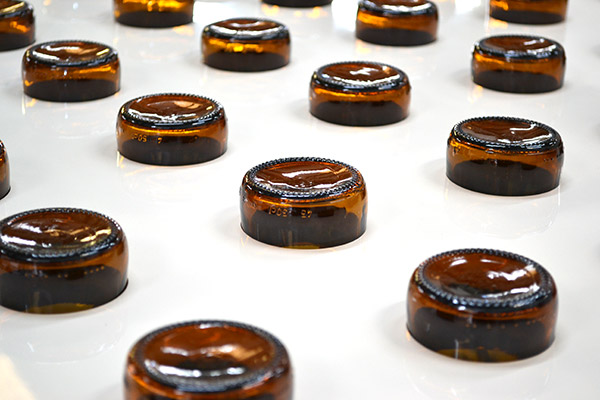
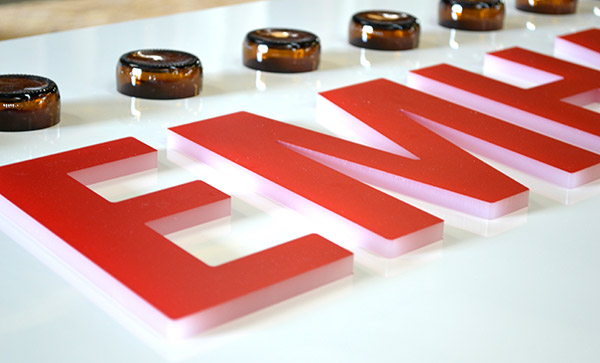
The “Emhart” letter faces were overlaid with translucent red vinyl to match the color of logo and glued into the inlay area using a water clear acrylic adhesive. The edges of the letters remain white to give a glow around the letters.
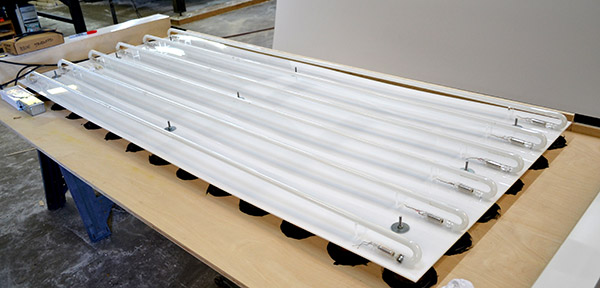
Illumination was accomplished using white neon tubing powered by self adjusting solid state transformers. The tubing was secured to a translucent white acrylic panel to diffuse the light. This also allowed for adjusting the distance between the bottles and the light to get a perfect glow.
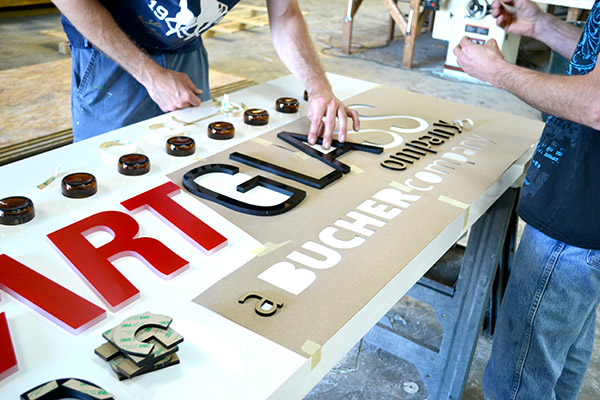
Finally, the rest of the lettering is applied to the face of the unit. The “Glass” letters are 1/2″ black acrylic and the smaller letters are 1/4″ black acrylic. All these letters were cut on one of our CNC laser cutters for nice crisp and shiny edges. The mounting template is also laser cut for accurate placement. A 3M VHB tape is used to apply the letters. This stuff is incredibly strong and reliable.
The top section was installed on the exiting wall frame first.
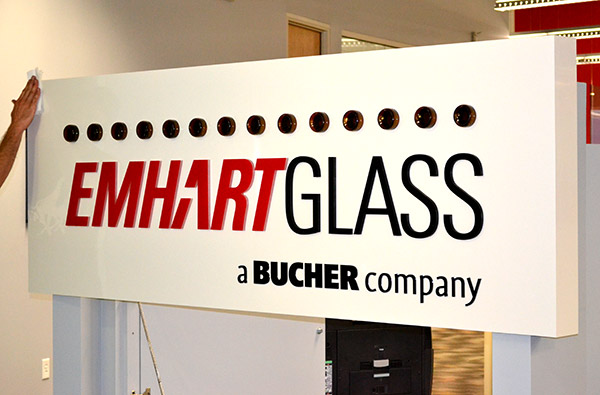
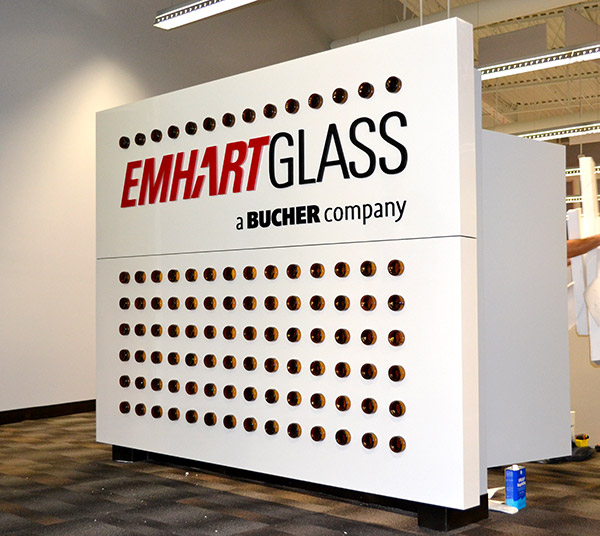
Bottom section of sign installed onto existing wall frame.
After the electrician wired up the unit, a stainless steel toe kick was added to the base to give the unit a modern finish. Our partner and their customer were very happy campers when they saw their new lobby sign light up for the first time.
